Assignment 5 - CNC Milling
Assigment
For this weeks assignment we were tasked with creating something using a CNC Mill. To do this we were tasked to use atleast 2 different cuts witht the CNC machine. We were supposed to use both, a rough cut to generate the basic shape, and a finishing cut to finalize the details.
Designing
As we had no design constraints besides needing to use two cuts, I decided to create a simple shape that should not pose many problems while milling.
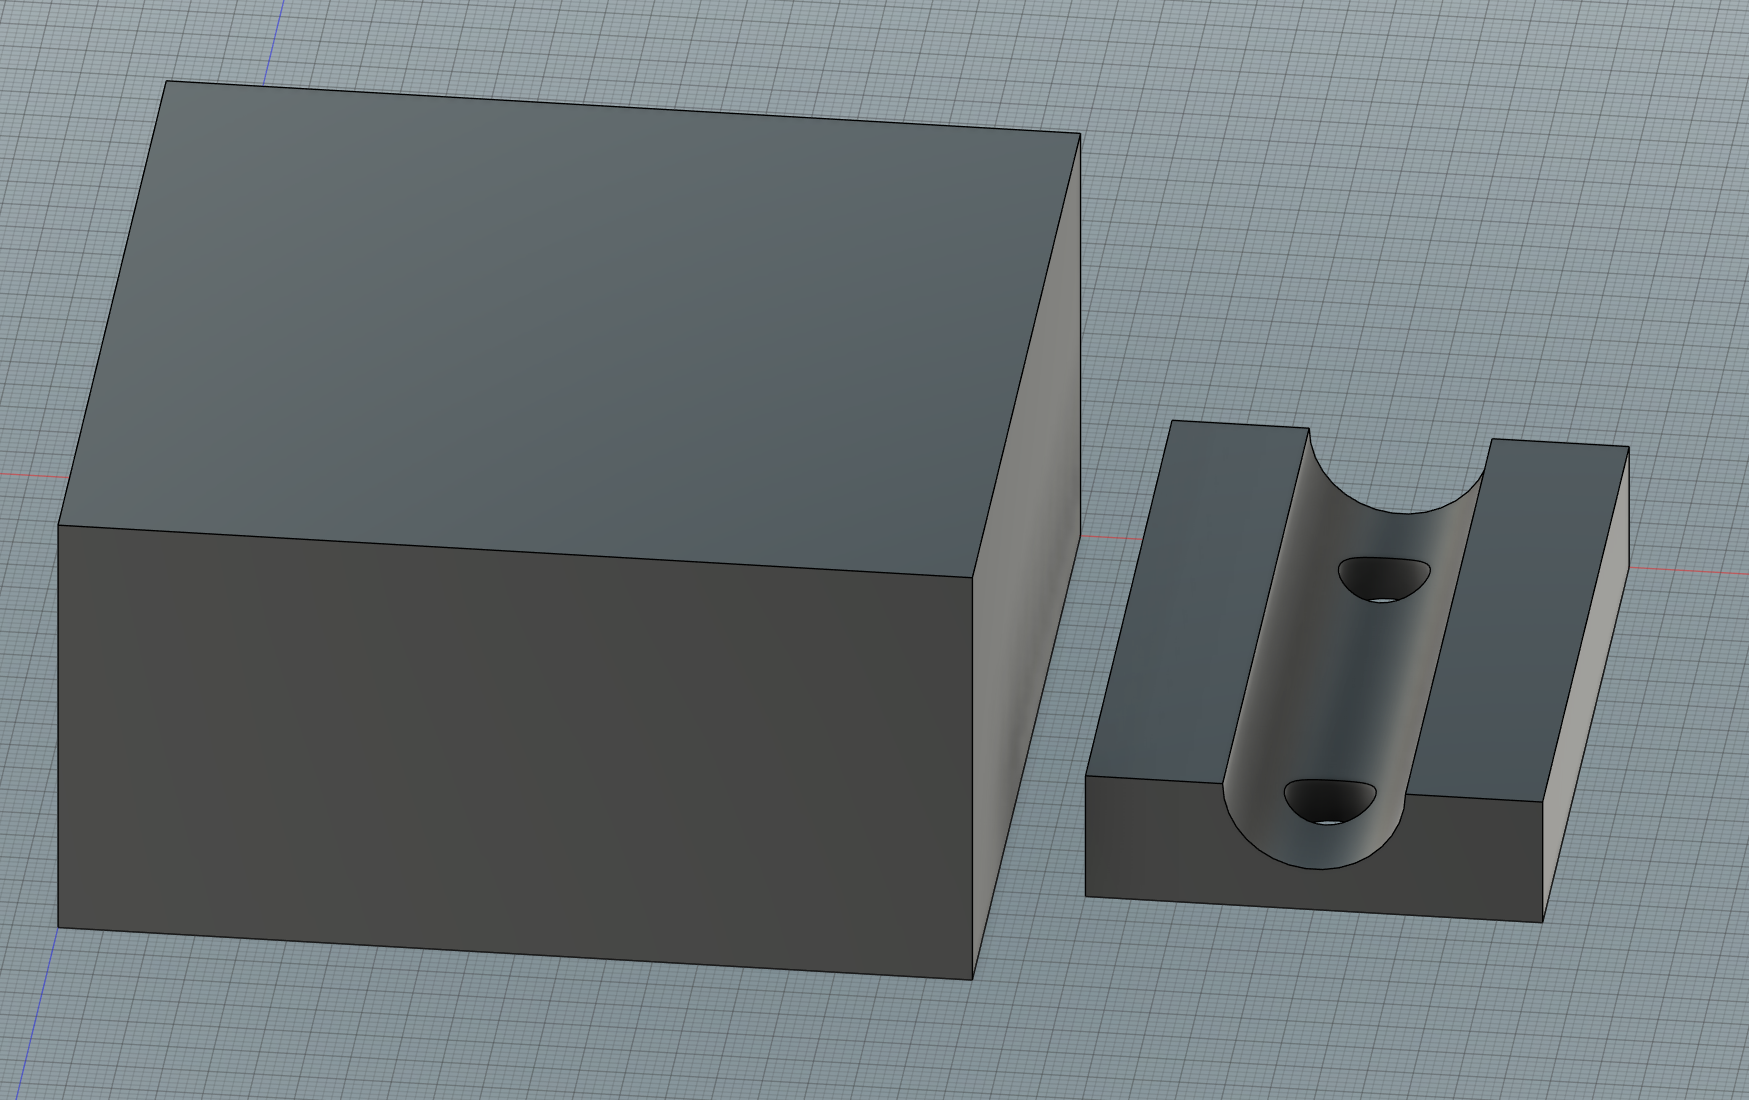
The material stock we used was a roughly 100mmx100mmx50mm cube of styrofoam. The Cube was also added to the model to make sure that the design would fit inside the material stock. It would also be used later to help generate an efficient toolpath for the CNC to use. After combining the both shapes I was left with this.
To ensure this design would work I shrunk to cube ontop which the model was placed such that the entire assembly was less then the 50mm of stock I was gonna use later.
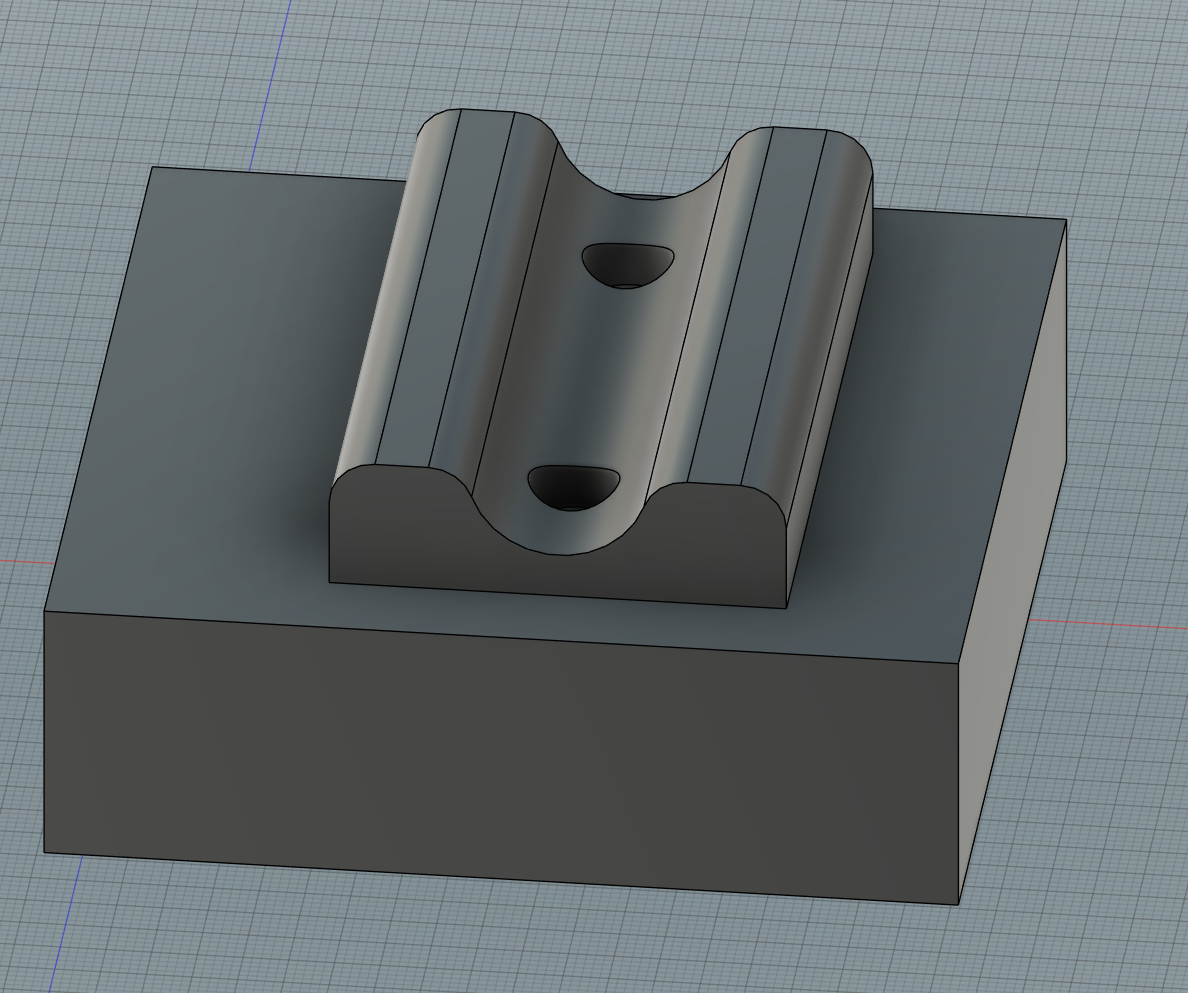
The final design file with the toolpaths included can be found here
Milling Preparation
For my two cuts I first used a Adaptive-Cut using a Flat end mill 6mm 2flute Bit. This cut was to generate the basic shape from the stock and was only gonna take roughly 5 minutes to complete. The generated toolpath looks as follows:

For the second of my two cuts I did a Morphed Spiral-Cut with a Ball nose 4mm 2flute Bit. The Toolpath for that cut looked like this:
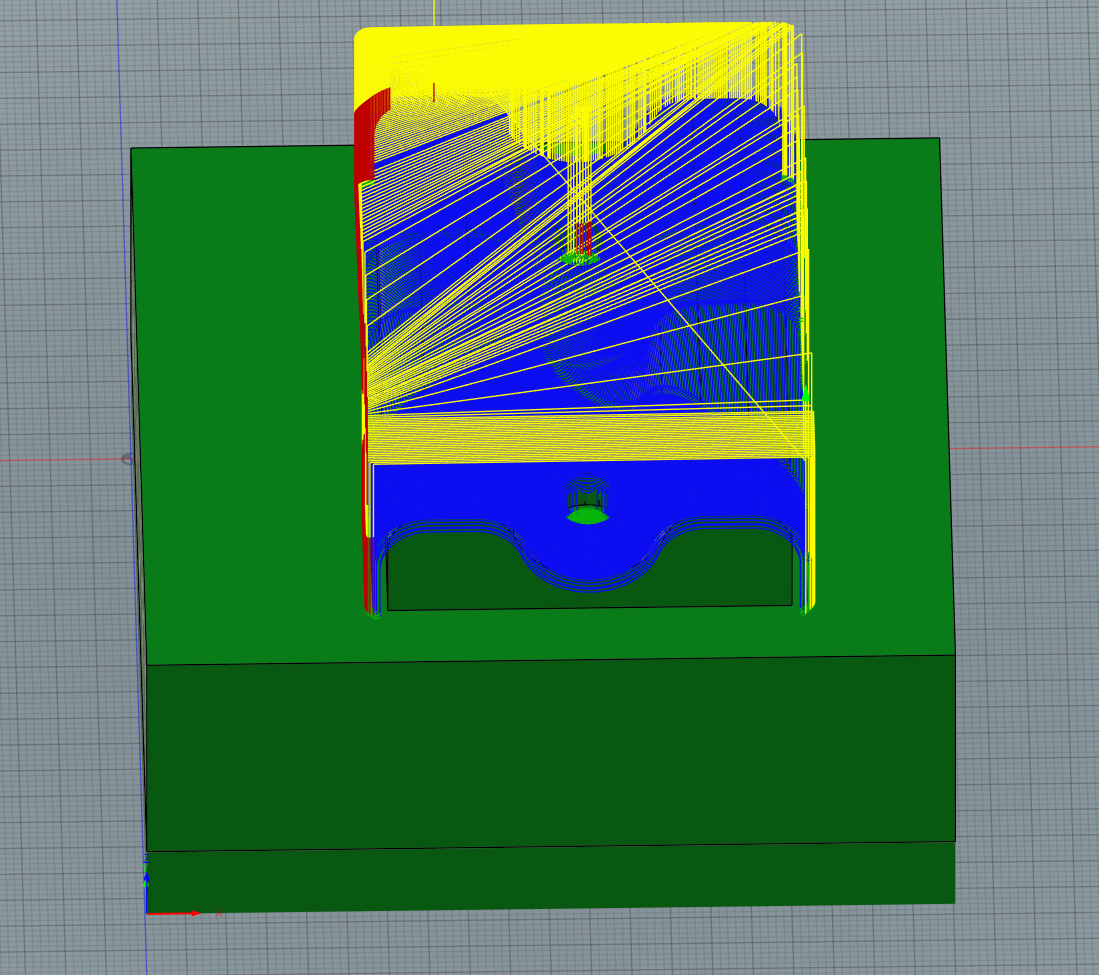
As you can see from this image, and as would become apparent later, that toolpath was incredibly inefficient and would take almost 50 minutes. Another cutting technique such as Parrallel or Contour might have worked more efficiently.
Milling
The first step to start millig the shape was to first calibrate the mill. To do this I first aligned the center of the bit with the bottom left of the stock. After that I also aligned the Z-height using the leveling puck.
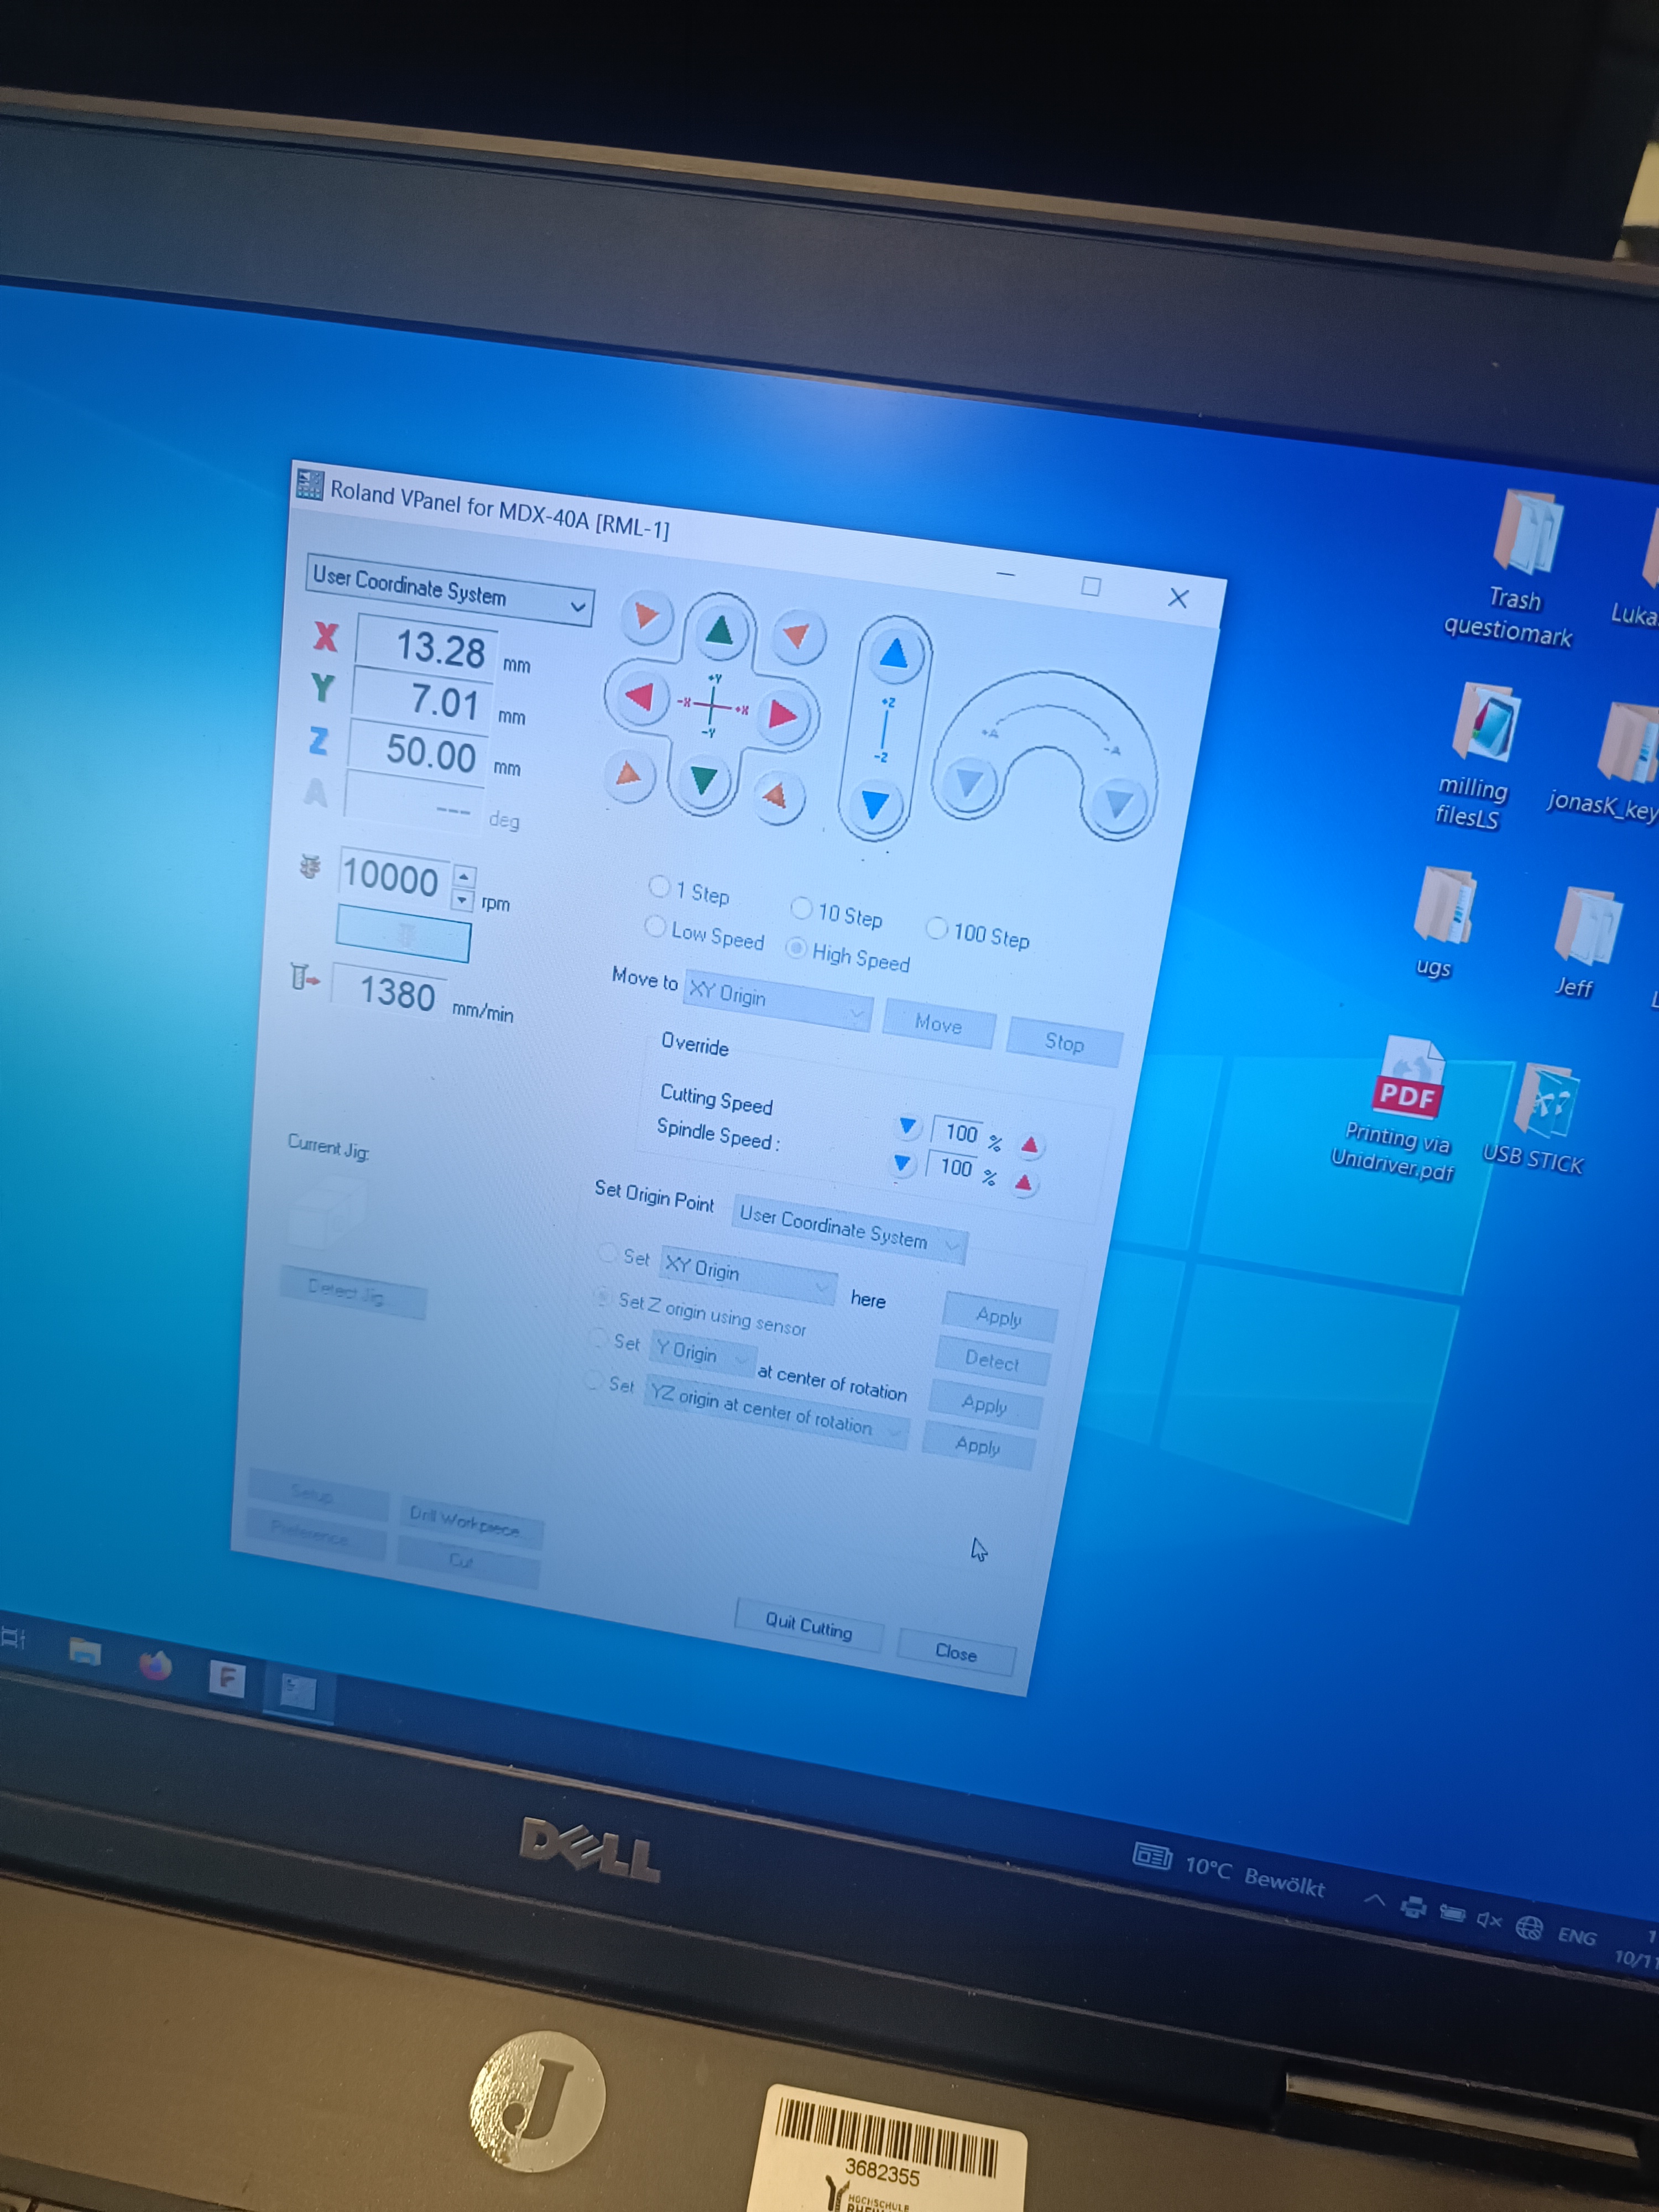
After calibrating I was able to use the generated machine code to start milling.
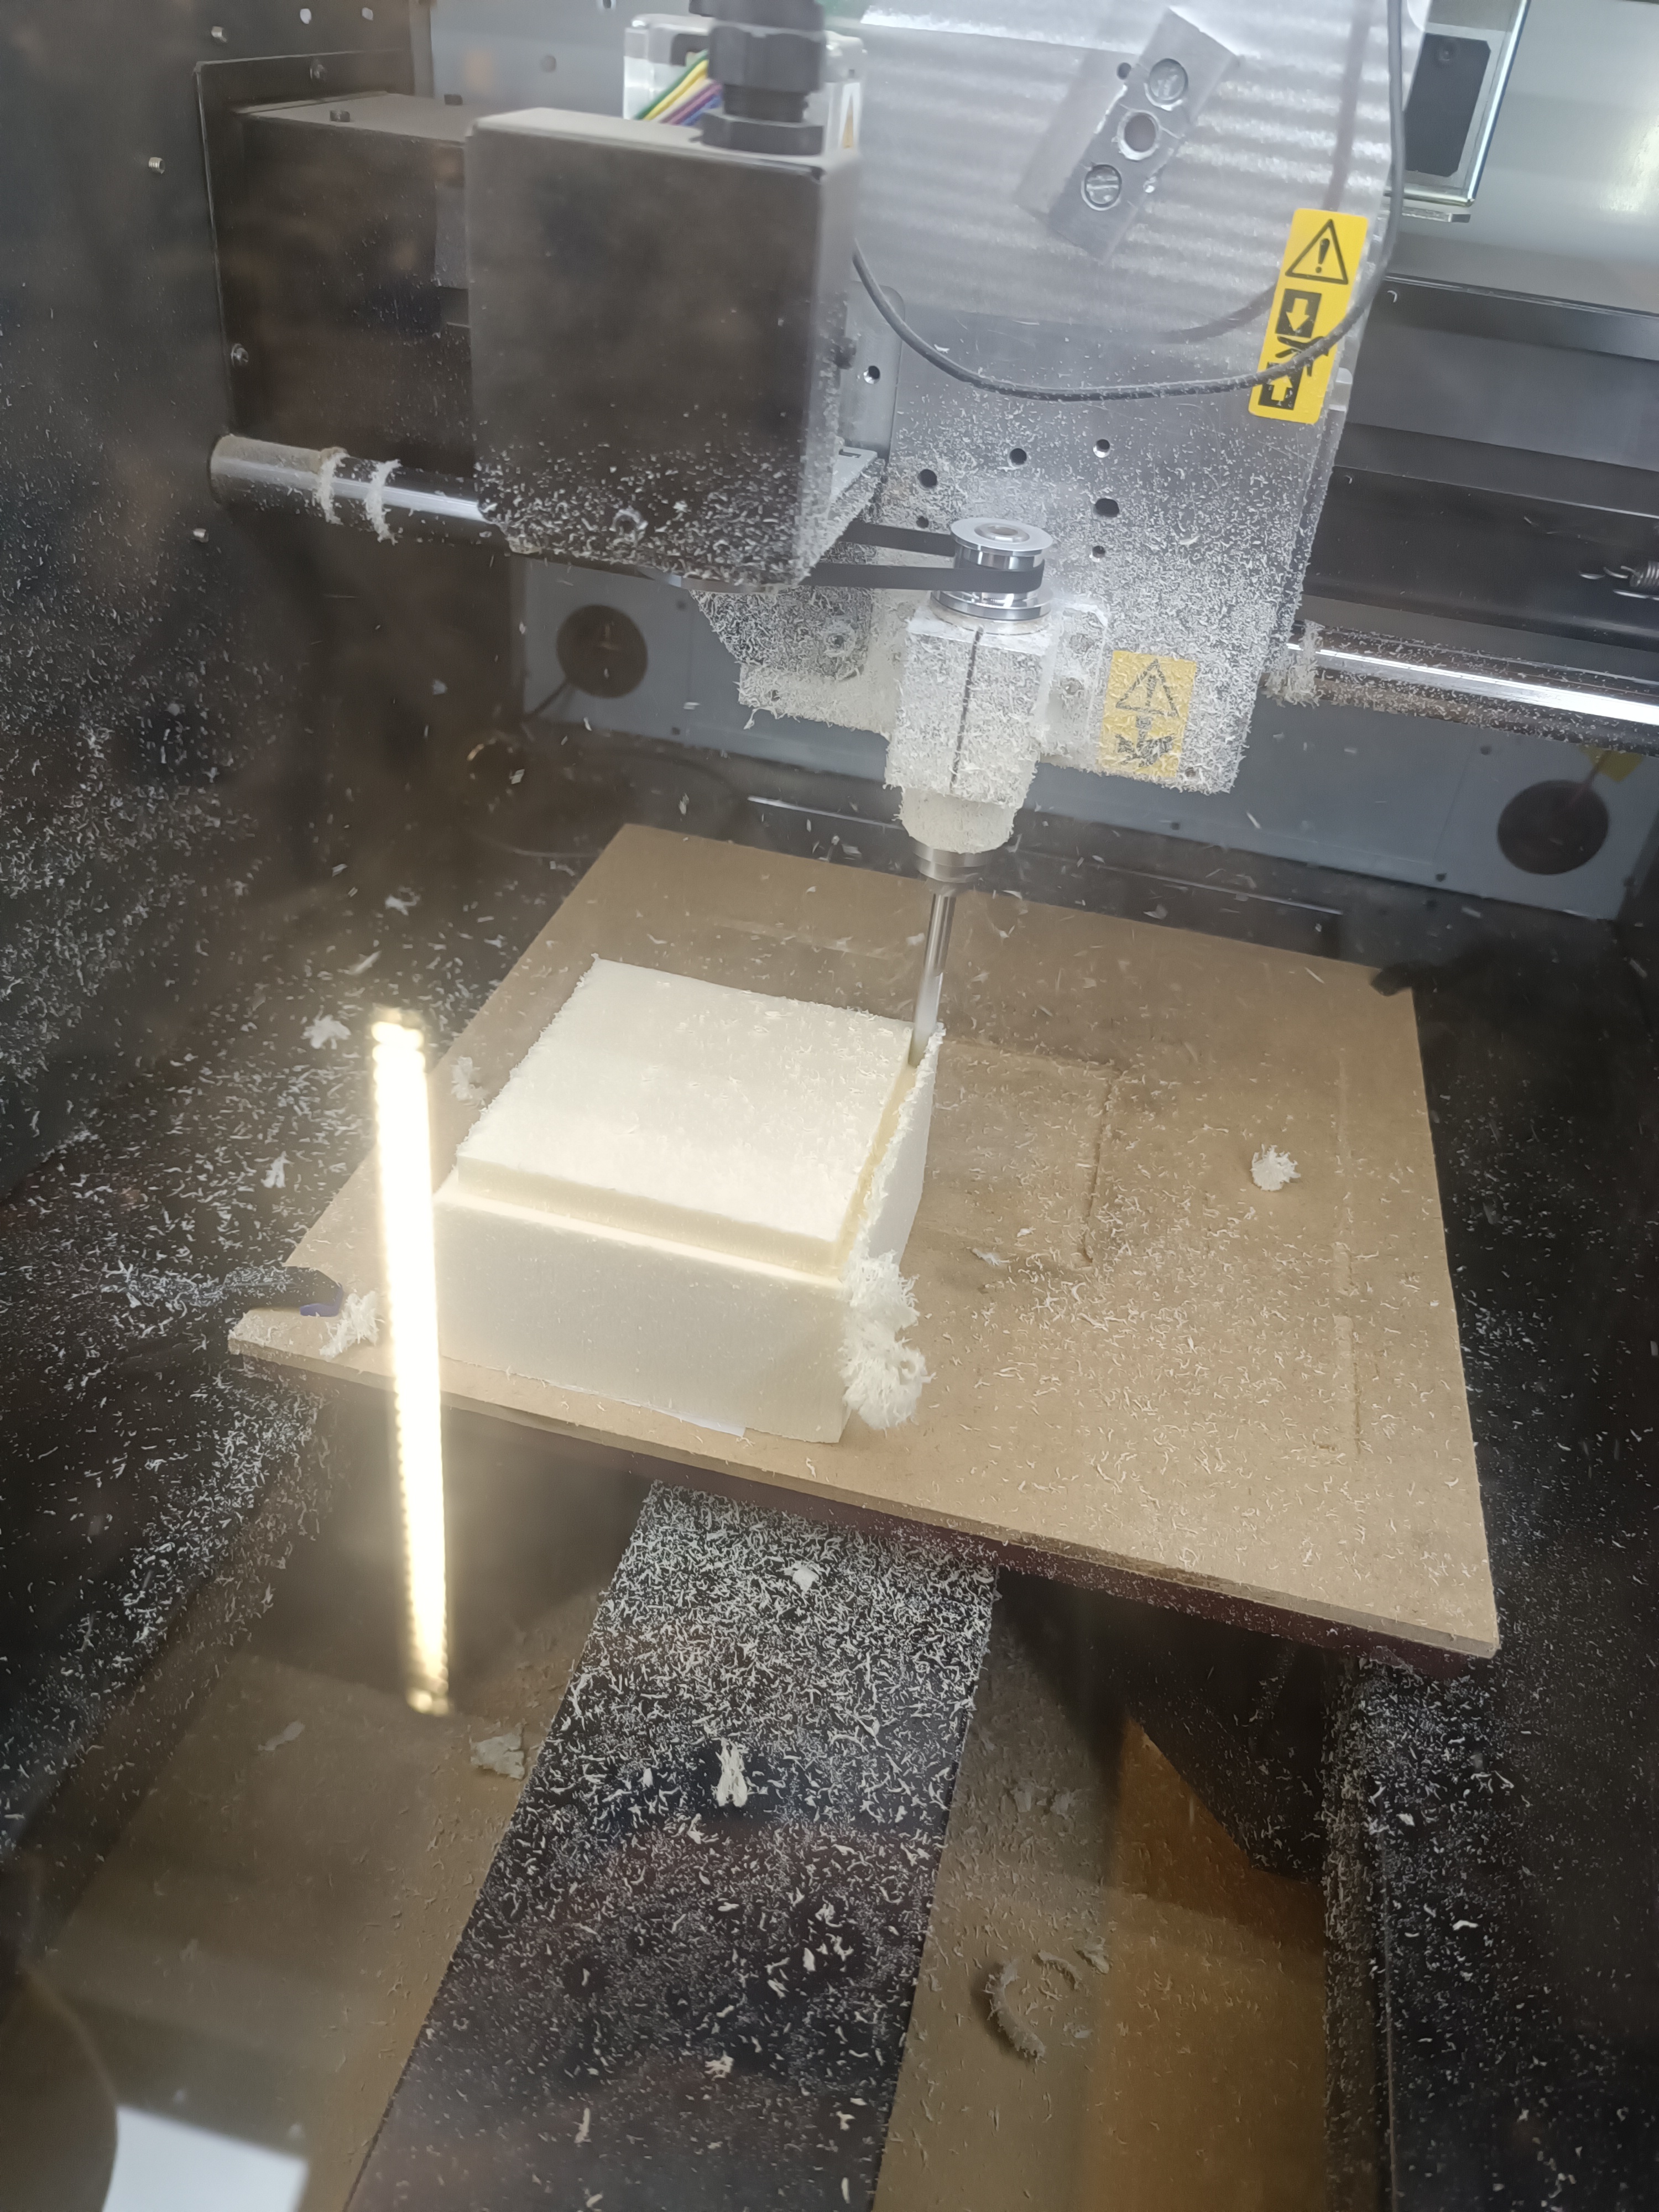
After the first cut was done I changed to the second bit and recalibrated the machine height. After that I was able to start the second cut. As mentioned before this cut took almost 50 minutes to complete.
Output
The final result after both of the cuts ended up like this:
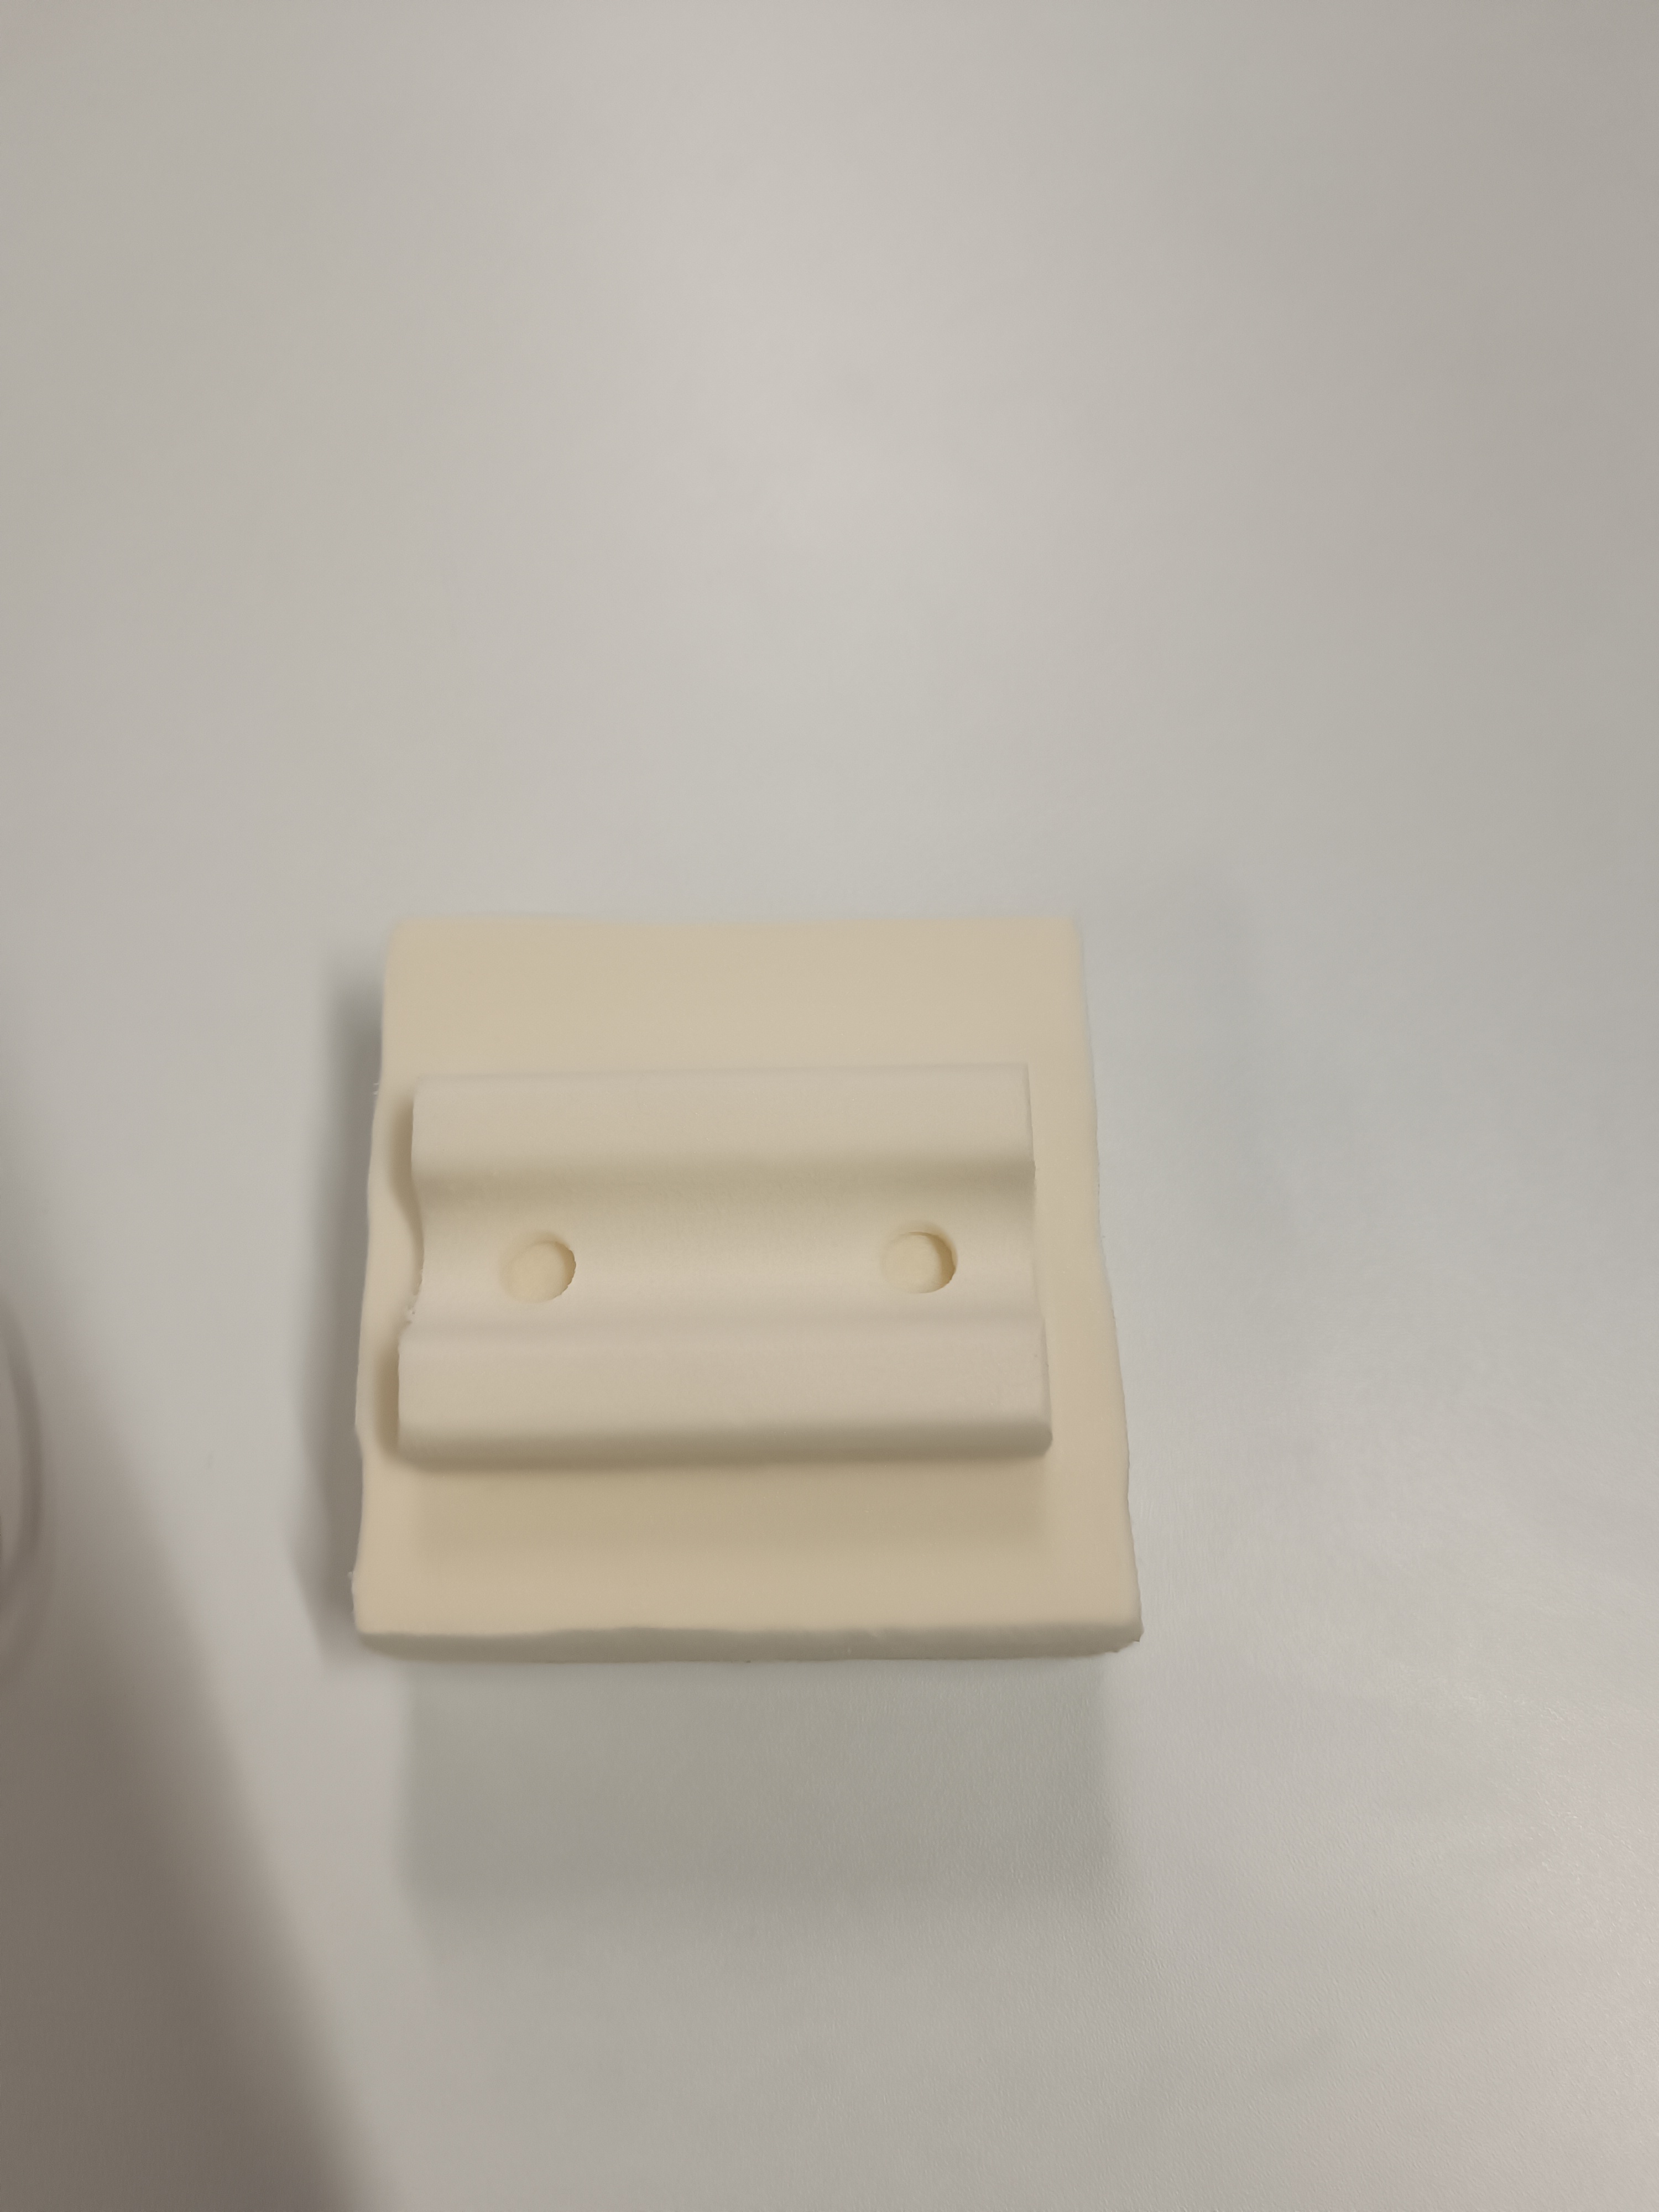
This result looked pretty much identical to the design I had created.